Cetacean researchers have adopted photo-ID as a method to identify individuals. As a Sea Watcher, you may be wondering how you can capture the best image of a cetacean to submit to our online sightings form. Apart from writing blogs for the Sea Watch Foundation, I also practice wildlife photography. Being inland, I don’t often have opportunities to capture images of cetaceans. However, I have had some practice in the field as a research intern, and general wildlife photography tips usually apply to cetacean photography as well. I’ll be discussing how to understand your subject, which equipment to use, and how to optimise your camera settings for beautifully crisp images.
Understanding your subject
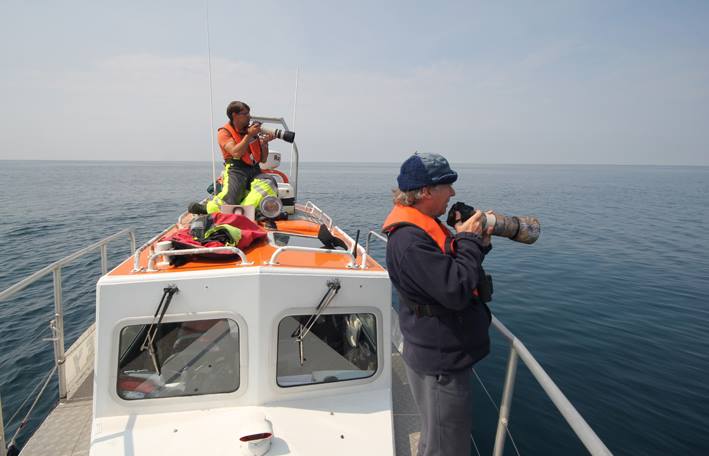
Understanding your subject is the most important part of cetacean photography. Some species will only give you a few chances for a good photograph. Sperm whales, for example, can hold their breath for up to 90 minutes, and remain at the surface for only a few minutes before their next dive. Other species will give you several opportunities for a good image. Dolphins and porpoises, for instance, can only hold their breath for 5-10 minutes at a time and don’t often remain too far from the surface. With every species, I suggest having designated lookouts scanning for cetaceans in every direction. Even species that have short dive durations can change direction quickly and disappear from view. I also recommend having your camera in hand at all times so you don’t miss any opportunities.
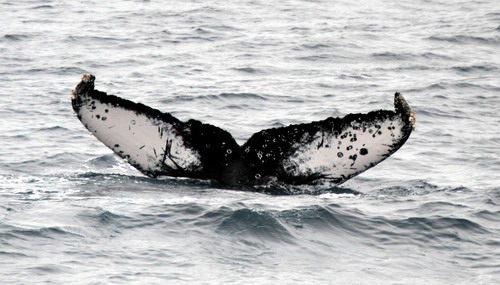
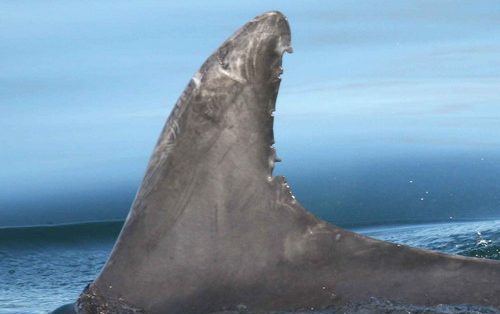
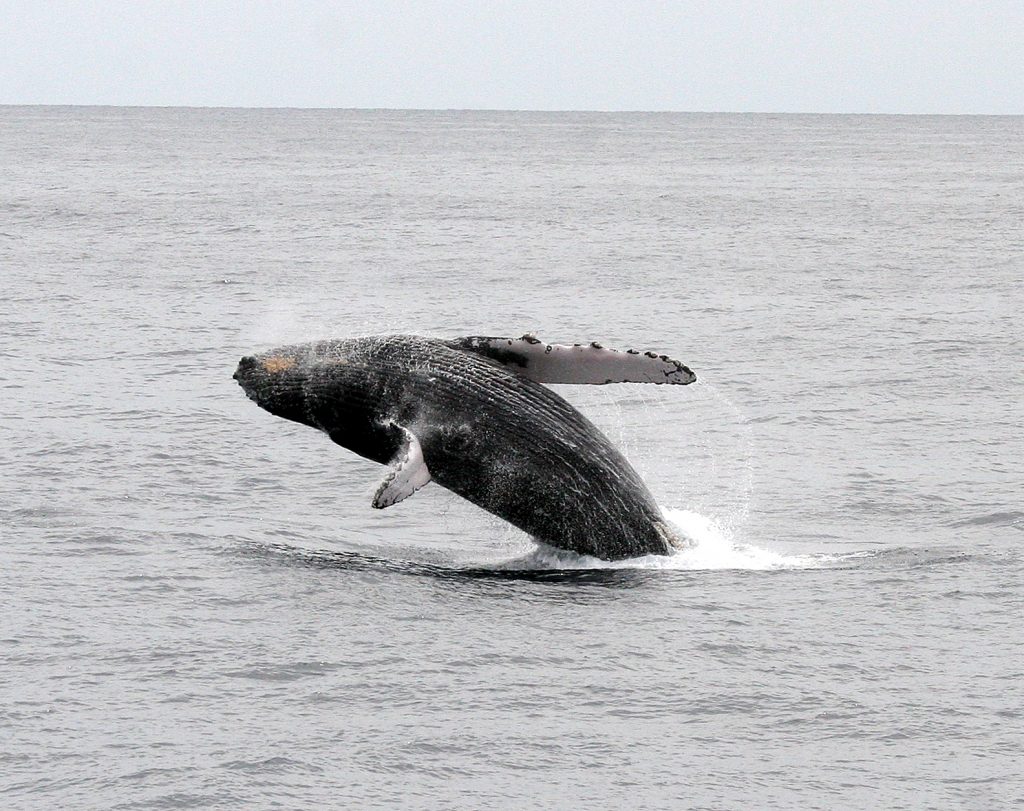
In addition to understanding the behaviour of your subject, it is also important to know which parts of your subject will provide the best information for photo-ID. While capturing the adorable faces of a bottlenose spy-hopping would be a lovely addition to your home décor, these types of photographs can rarely be used to identify individuals. For whales, dolphins and porpoises, the dorsal fin is the main identifying characteristic. Whales that often lift their above the surface before a dive, like humpback whales, can also be identified by their fluke patterns. Dorsal fins and flukes are similar to human fingerprints. Each animal has a unique pattern of nicks and notches. However, these fingerprints are subject to change over time as a result of injuries and normal wear and tear. To identify an individual, researchers carefully analyse each image, taking into account potential changes. Therefore, capturing as much of the dorsal fin and flukes as possible is imperative for successful photo-ID.
Recommended equipment
I recommend DSLR or mirrorless cameras for capturing images of cetaceans. While phone cameras have improved significantly over the years, nothing beats the image quality of a stand-alone camera. DSLRs and mirrorless cameras can also be fitted with zoomable lenses which are often necessary to capture animals that are far away.
Because cetaceans are often spotted far away, having a long lens can be very helpful to get a clear photo. Look for zoomable lenses that can reach a maximum focal length of 200mm or more. If you are using a crop sensor camera, your lens will have even greater reach. Using a lens with a high maximum focal length will allow you to take up-close photographs without getting too close to the animals and disrupting their behaviour.
Selecting a weather-proof camera may be a good investment while you’re out at sea. While these cameras are not completely waterproof, they should be able to handle the occasional splash or spray. For additional protection, you can purchase lens covers. If you continually wipe seawater off of your lens, you increase the chances of irreparable scratches. It’s better to scratch up an easily replaceable lens cover than your expensive 500mm lens! To take your cetacean photography to the next level, you can outfit your camera with a polarising lens filter and/or lens hood to reduce sea glare.
Camera settings
When you use a DSLR or mirrorless camera, you may be overwhelmed by the amount of settings and shooting modes. Because there are so many settings, I will focus on the core three: aperture, shutter speed, and ISO. If you have your camera set to the manual shooting mode, you’ll be able to customise each of these settings.
The aperture of a lens controls the depth of field. Wider apertures (ex. f/2.8) will generate a shallower depth of field, whereas narrow apertures (ex. f/11) will produce a larger depth of field. A shallow depth of field causes the subject to be in focus, and the rest of the image to be blurry. A large depth of field will cause more of the image to be in focus. Increasing your depth of field will increase your chances that the entire animal is in focus. However, narrow apertures also reduce how much light the camera receives and can produce dark images. Take a few test images to see which aperture will be suitable for your current lighting conditions, and try to make it as narrow as possible.
The shutter speed controls how quickly the camera snaps an image. To produce the clearest image, you’ll want to have your camera set to a high shutter speed. Like narrow aperture, increasing your shutter speed will also reduce how much light the camera receives, causing underexposed images. Aim to have a shutter speed that is at least the inverse of your focal length. For example, if you have a lens that reaches 200mm, you’ll want your shutter speed to be 1/200s at the very minimum. Increase your shutter speed even further if you can without compromising exposure.
ISO controls the exposure of your image. It can often be increased to compensate for narrow apertures and fast shutter speeds. However, increasing your ISO too high can produce “noisy” or grainy images, so aim to have as low of an ISO as possible without compromising exposure. During the brighter daylight hours, having a lower ISO is much easier to accomplish.
If adjusting these settings is overwhelming to you, you can try setting your camera to the shutter-speed priority shooting mode. This will allow you to customise your shutter speed, while letting the camera set the aperture and ISO for the optimal exposure. You can also try out the sports mode on your camera. In sports mode your camera will adjust the shutter speed, aperture, and ISO on its own for optimal exposure, and lean toward higher shutter speeds.
With practice, you’ll be able to take beautifully clear images of dolphins, whales, and porpoises. Be sure to submit your photos to our online sightings form. Click on the links below to learn more about how you can improve your photography. Feel free to comment on this post if you have any other tips and tricks to better capture photographs of cetaceans. I’d love to hear from you!
Megan
Sea Watch Volunteer
Feature Blogger
Additional Resources
- “What is ISO in photography?” – PhotographyLife.com
- “Tips for taking great whale and dolphin photos” – NikonUsa.com
- “What is aperture in photography? – Understanding the Basics” – CanonUSA
- “What is the relationship between aperture, shutter speed, and ISO?” – Sony.com

